常见的虚拟机软件如
MacOS NAT https://gist.github.com/retspen/4e6ec73271594399c050f6f8027a9880
Mac OSX (10.8.X) scripts for QEMU/KVM bridged networking with nat on en1 https://gist.github.com/artembeloglazov/db8c16efc91443955fca
执行 sudo pfctl -f pfctl_nat.config -e 出问题
1
2
3
4
5
6
7
| pfctl: Use of -f option, could result in flushing of rules
present in the main ruleset added by the system at startup.
See /etc/pf.conf for further details.
No ALTQ support in kernel
ALTQ related functions disabled
pf enabled
|
安装依赖
If the installation fails, retry after you enable it in:
System Preferences → Security & Privacy → General
如果安装失败,在“系统偏好设置”→“安全性与隐私”→“通用”中信任 tuntap 安装包,然后重试。
1
2
3
4
5
| # 需要在`安全性与隐私`中信任 tuntap 安装包
# If the installation fails, retry after you enable it in:
# System Preferences → Security & Privacy → General
brew cask install tuntap
brew install qemu
|
下载操作系统镜像
1
2
| # Ubuntu 20 for ARM
wget http://cdimage.ubuntu.com/releases/20.04/release/ubuntu-20.04.1-live-server-arm64.iso
|
创建虚拟硬盘
1
| qemu-img create ubuntu-arm64.img 16G
|
启动虚拟机
1
| qemu-system-aarch64 -m 2048 -cpu cortex-a57 -smp 2 -M virt -bios QEMU_EFI.fd -nographic -drive if=none,file=ubuntu-20.04.1-live-server-arm64.iso,id=cdrom,media=cdrom -device virtio-scsi-device -device scsi-cd,drive=cdrom -drive if=none,file=ubuntu-arm64.img,id=hd0 -device virtio-blk-device,drive=hd0
|
参数的含义大致如下:
| qemu-system-aarch64 | 二进制文件,提供模拟aarch64架构的虚拟机进程 |
|---|
| -m 2048 | 分配2048MB内存 |
| -M virt | 模拟成什么服务器,我们一般选择virt就可以了,他会自动选择最高版本的virt |
| -cpu cortex-a72 | 模拟成什么CPU,其中cortex-a53\a57\a72都是Armv8指令集的 |
| -smp 2,cores=2,threads=1,sockets=1 | 2个vCPU,这2个vCPU由qemu模拟出的一个插槽(socket)中的2个核心,每个核心支持一个超线程构成。 |
| -bios QEMU_EFI.fd | 指定bios bin所在的路径 |
| -device xxx | 添加一个设备,参数可重复 |
| -drive | 添加一个驱动器,参数可重复 |
| -net | 添加网络设备 |
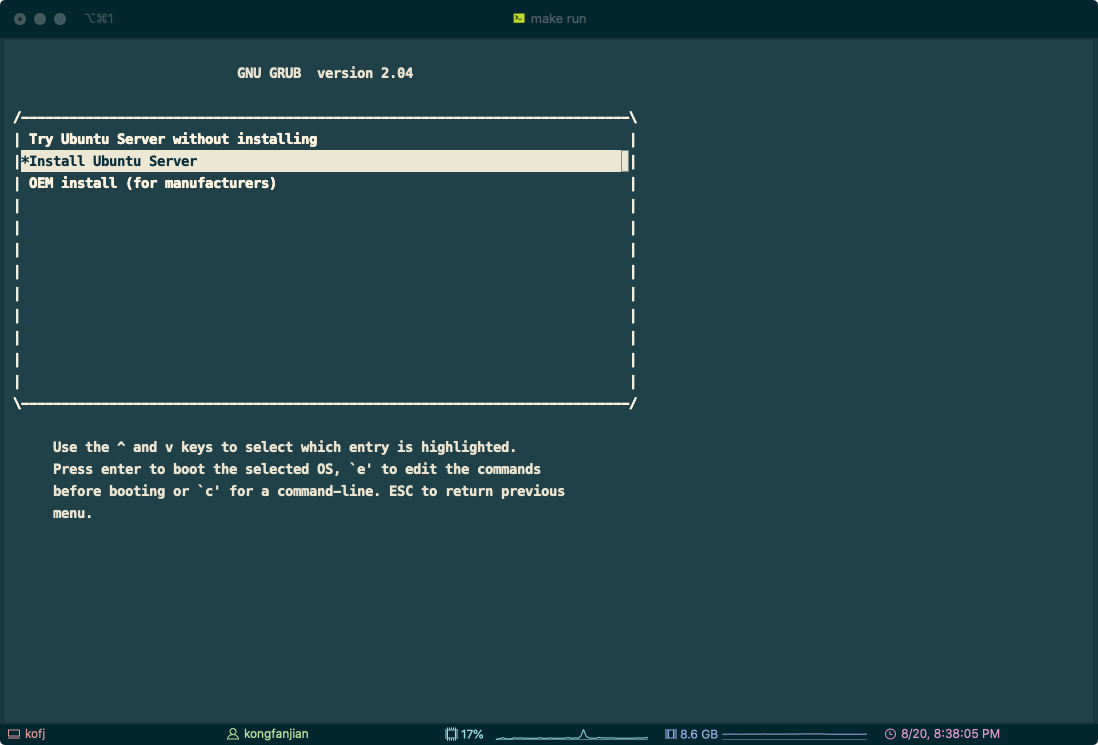
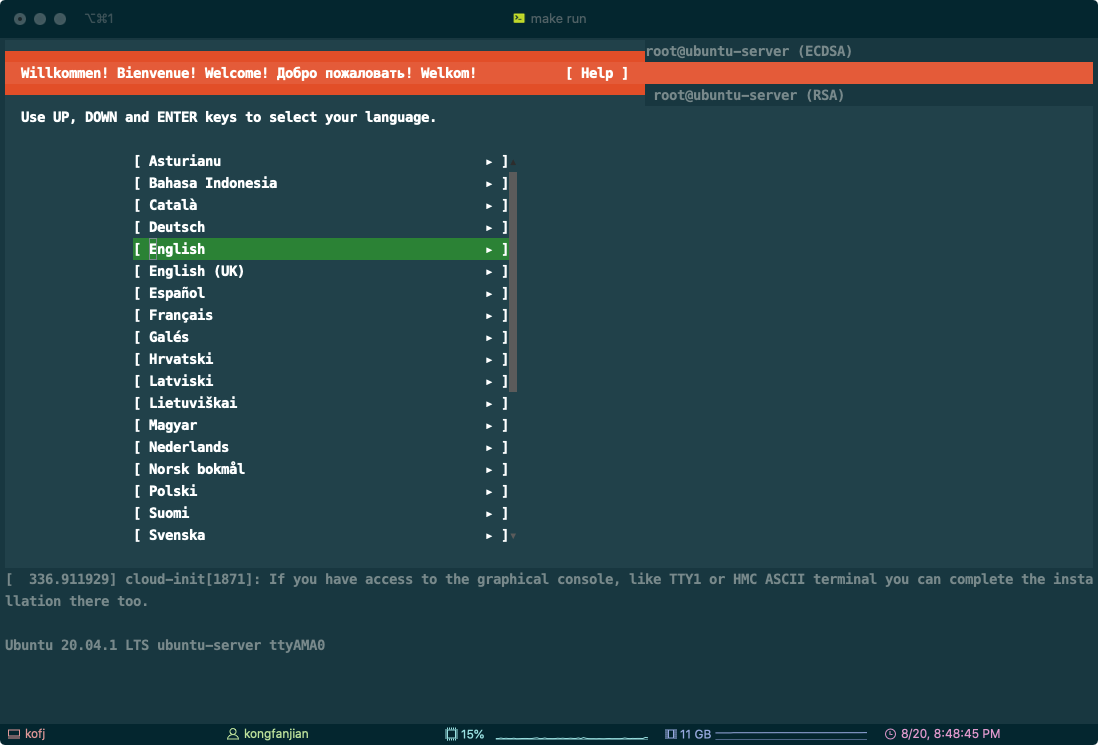
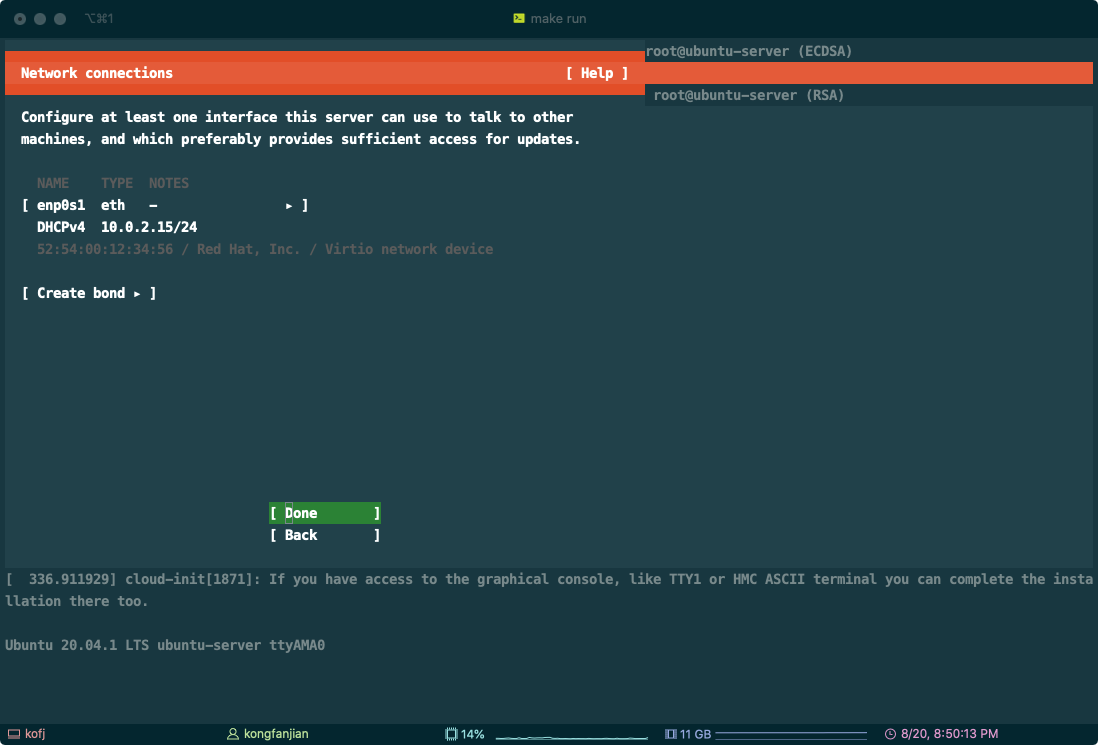
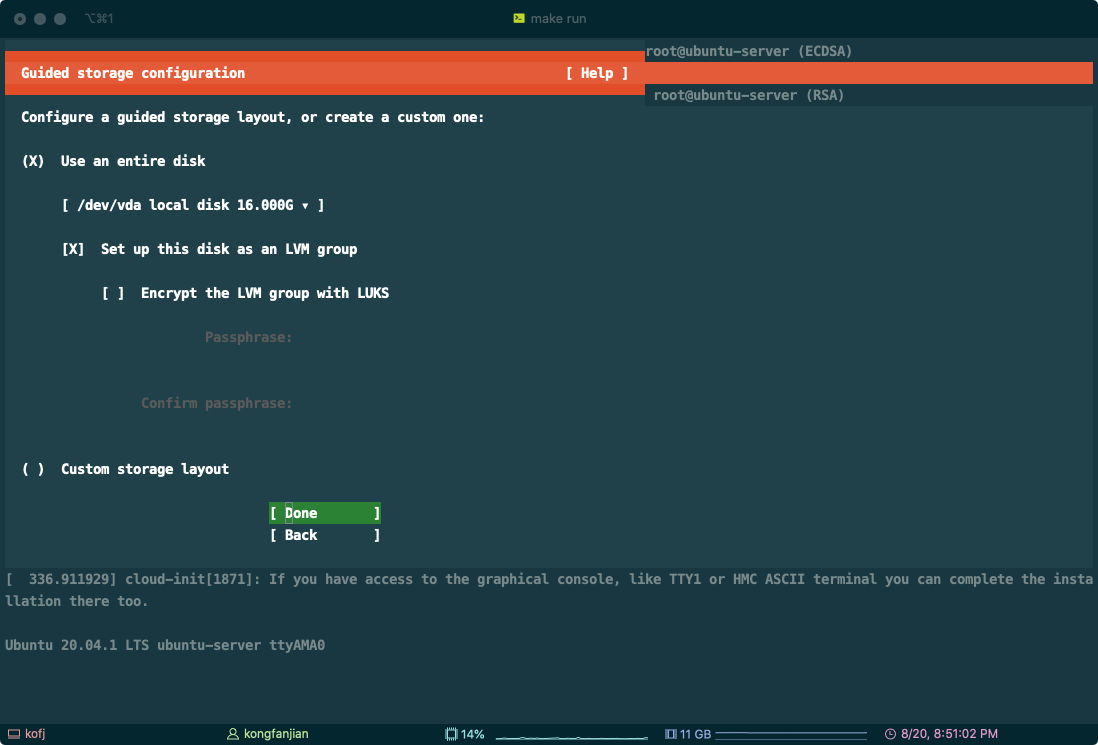
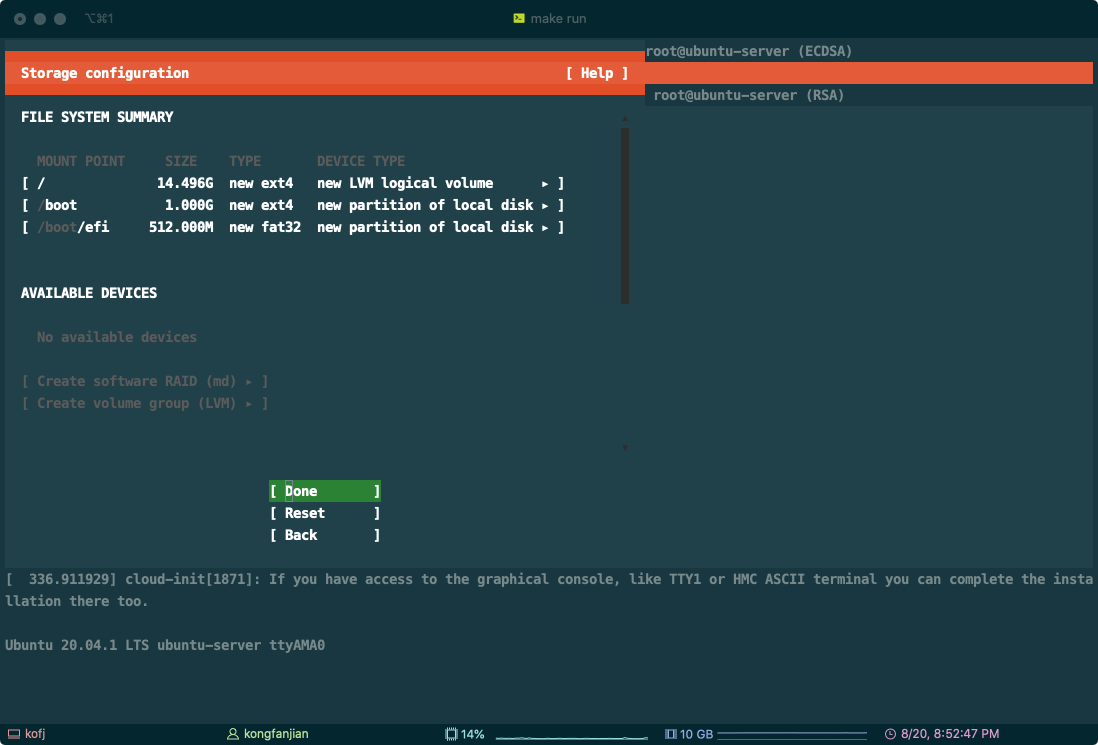
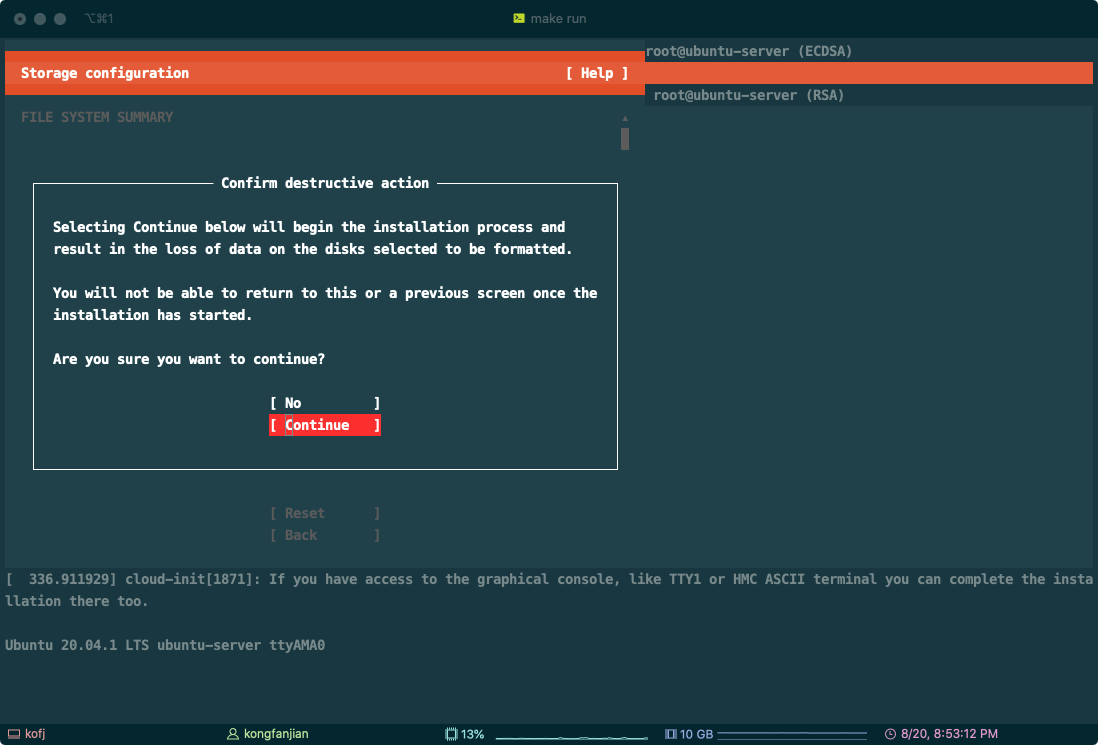
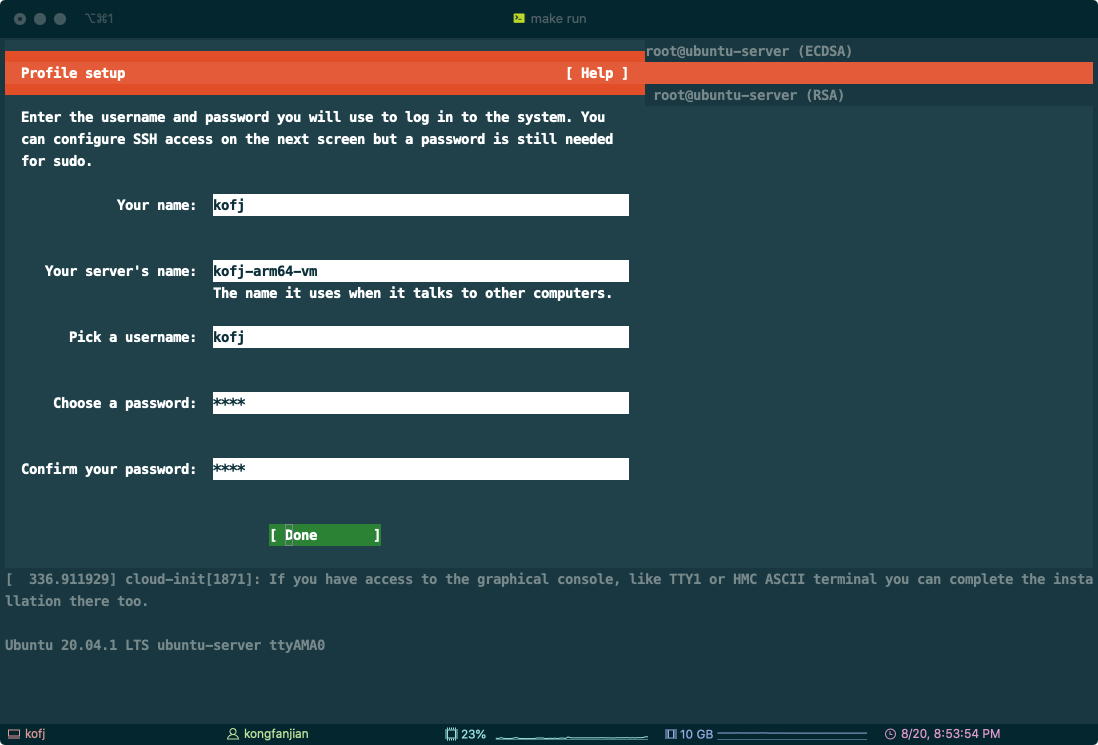
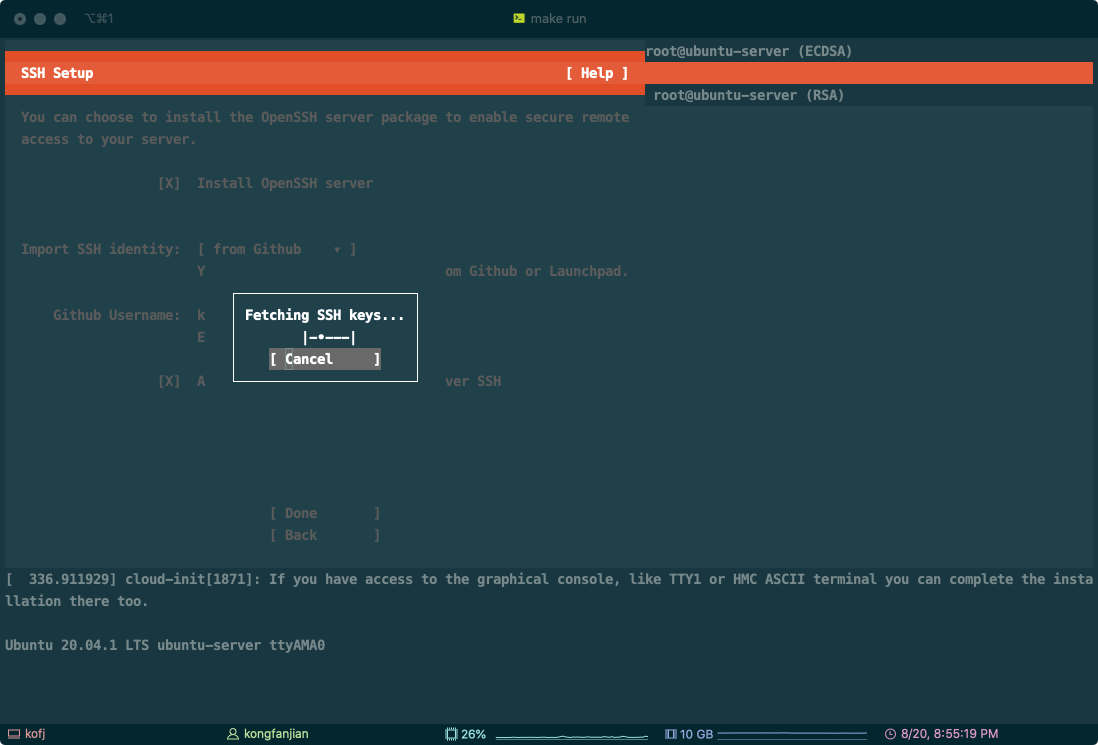
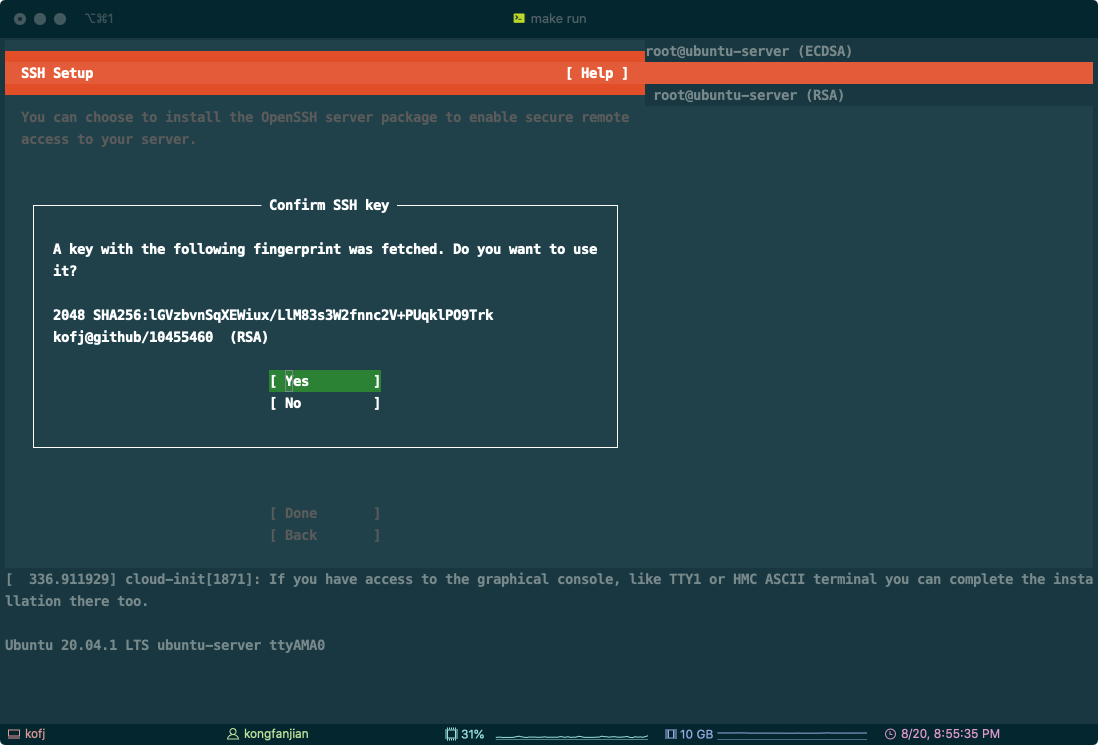
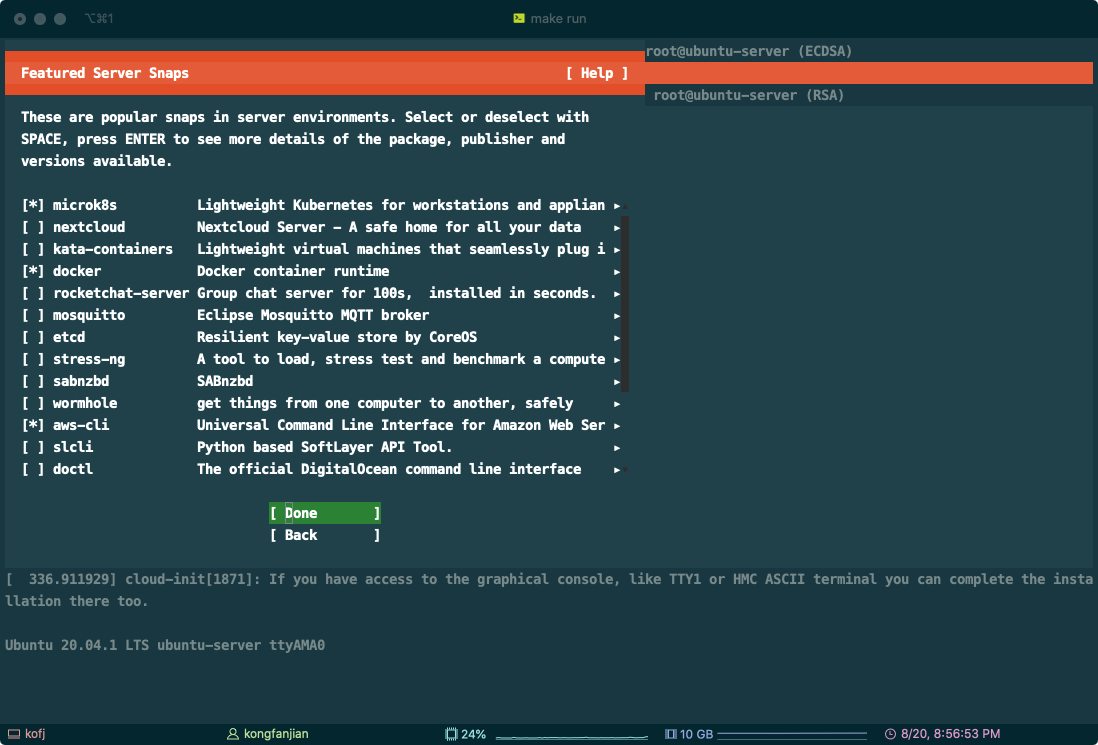
执行上述命令后,将会在终端看到下列交互界面,选择 Install Ubuntu Server 进入安装步奏,启动较慢,需要耐心。
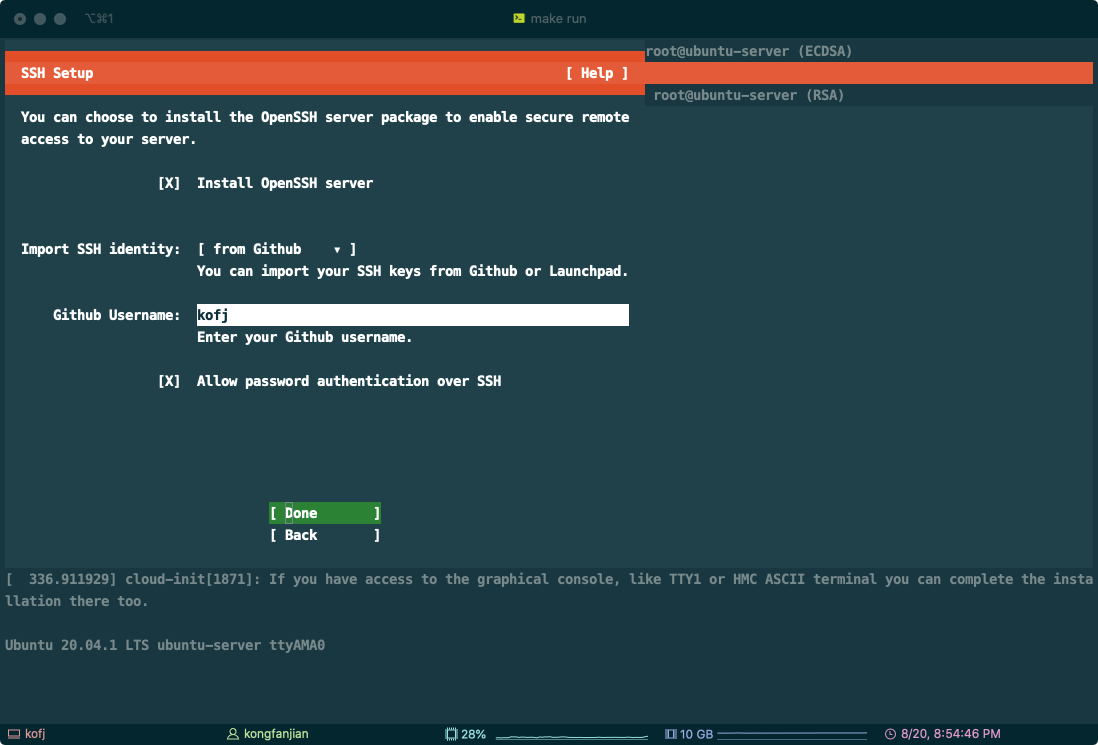

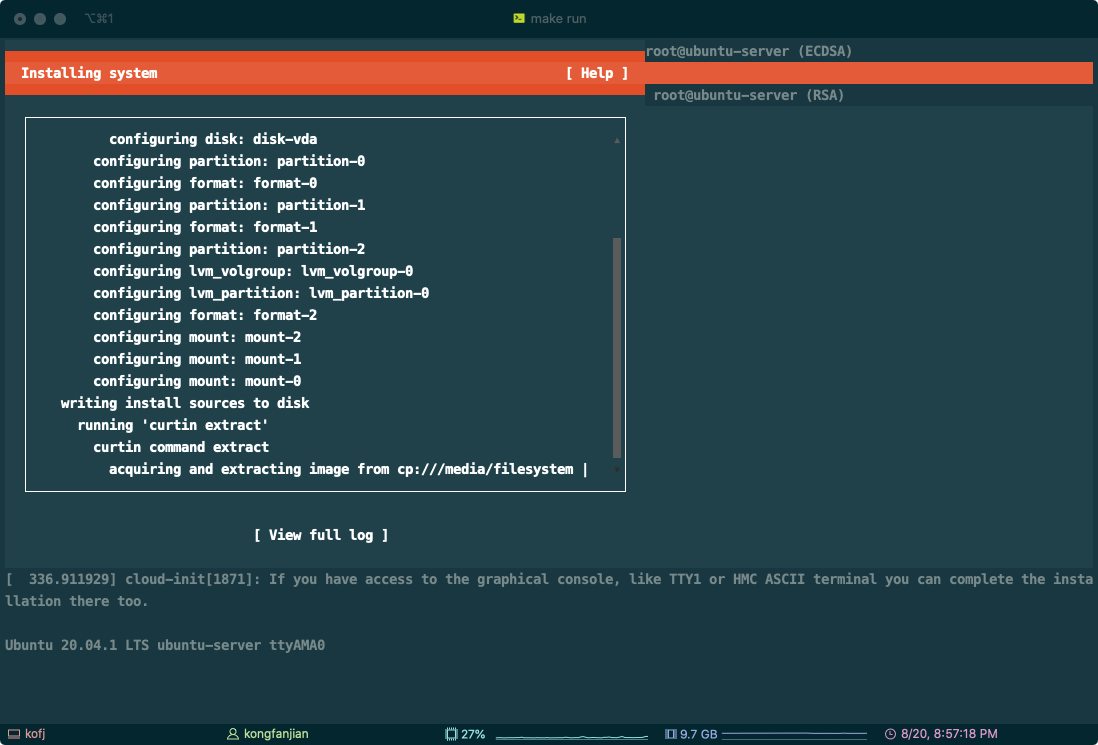
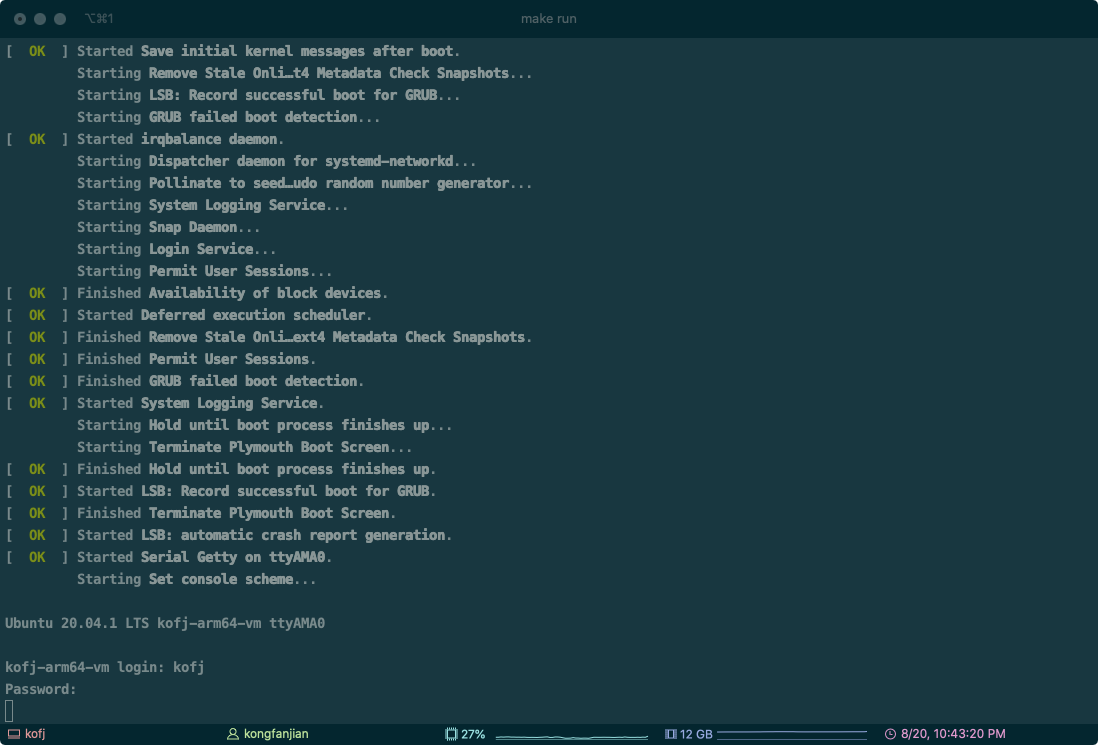
安装完成后,移除镜像文件,重新启动虚拟机。可以看到下图所示登录界面,输入用户名密码即可登录控制台。
参考资料:
- https://blog.csdn.net/chenxiangneu/article/details/78955462
- https://github.com/Tunnelblick/Tunnelblick/tree/master/third_party
- https://wiki.qemu.org/Documentation/Networking
- https://www.dzombak.com/files/qemu-bridging-mavericks.pdf